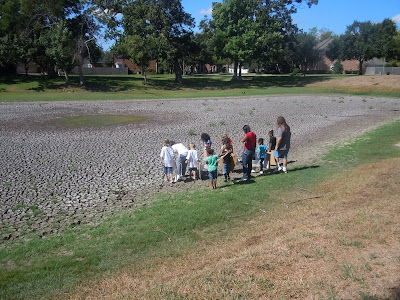
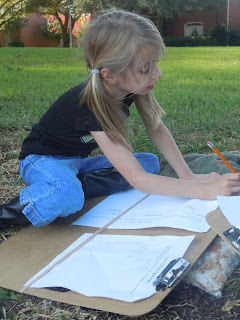
 During our adventure to Castle Park, one of our assignments was to list living organisms. One living organism that all of the students found was - ANTS! Who knew that this would start an investigation that has so far lasted for more than a month!
As we learned that living organisms need shelter, we found that ants use ant hills for their shelter. We read about how the ant nests are built, how the ant colony works together, how the tunnels are made, and how there are different "rooms" for the needs of the ants. We also learned about the different "jobs" that ants have.
As we studied the structure of the ant hill, the kindergarten students wanted to create one out of paper mache.
They learned that ants create holes at the top of the hill to allow for air circulation! Notice our holes!
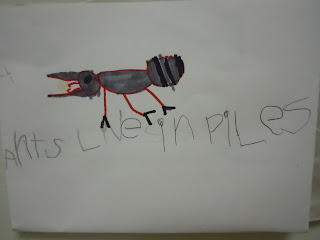
Next, we focused on making models of ants for our ant hill. The children know the colors for males and females, the specific body parts and names, how many legs ants have (since they are classified as an insect), and how many feelers they have.
For our morning journal entries, we have focused on the ant life cycle......
Jaylin wrote 1. 6 legs
2. 2 eyes
3. 2 feelers
4. hair
Annika drew a detailed picture of an ant hill and all of the different "rooms" the ant hills have. After her picture was done, she used it as a blue print for a clay model.....
We have watched an Ant video, and learned about different types of ants and experiments to do with them. We ordered some Harvester Ants.....
now we are watching them create their tunnels....
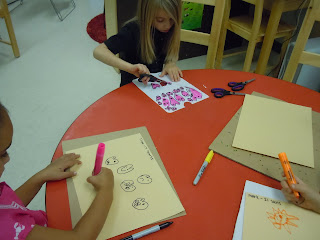
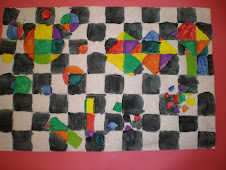
We took our ant knowledge to the art studio and created "Ant Art". We have begun a Self Portrait Portfolio, and one thing we are studying in this project is complimentary colors. The students chose the complimentary colors they wanted to use:
Purple & Yellow
Red & Green
Blue & Orange
We painted on canvas and then had a lesson on pattern making, and creating tints and shades of our complimentary colors using black and white paint.
Our style of ant art was inspired by African fabrics! The children also made sure to show the three parts of the ant body, the 6 legs, and the two feelers. Who would think that we could incorporate all of that in this art piece! ;0)
Take a look at some of the end products...........
This ant project is far from over. We are learning the characteristics of the different types of ants, and we will use this to create charts and graphs. We are looking at live and dead ant specimens in our microscope to get an up close look at the anatomy! We can even look outside when we play and tell everyone whether we see wood ants, fire ants, or sugar ants!
Check back soon!


